

SPECIAL OFFER!
BUY 2 PAIRS OF EARRINGS [ANY STYLE] and get the 3rd pair for HALF OFF!Discount automatically applied when 3+ pairs are in your shopping cart
***NO LIMIT on this discount!***
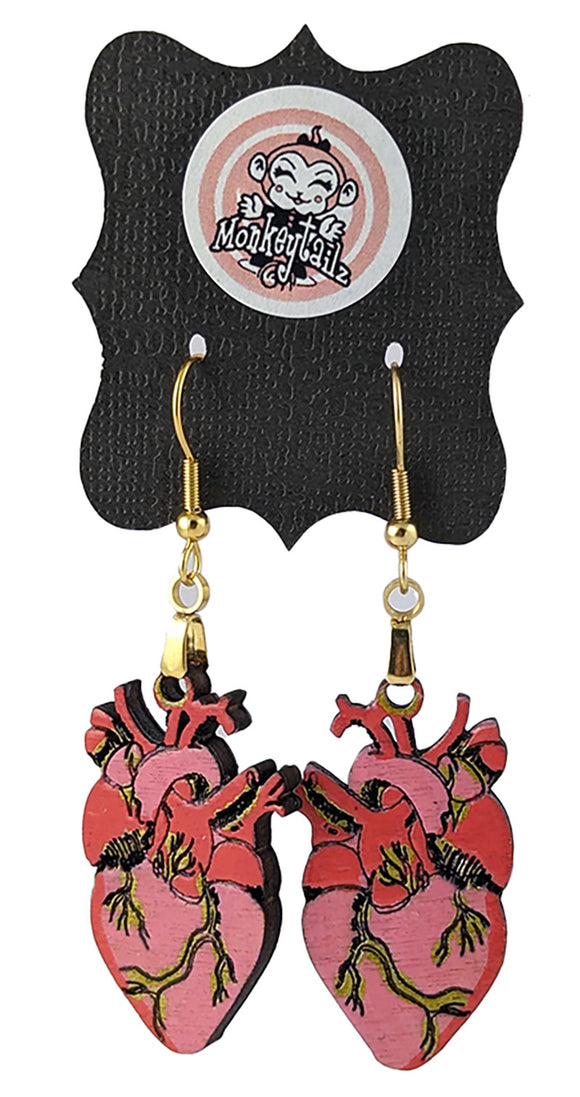
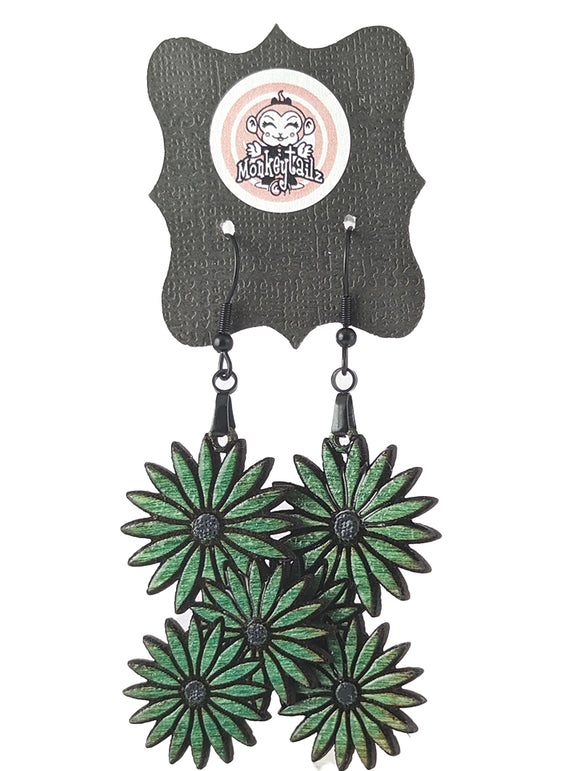
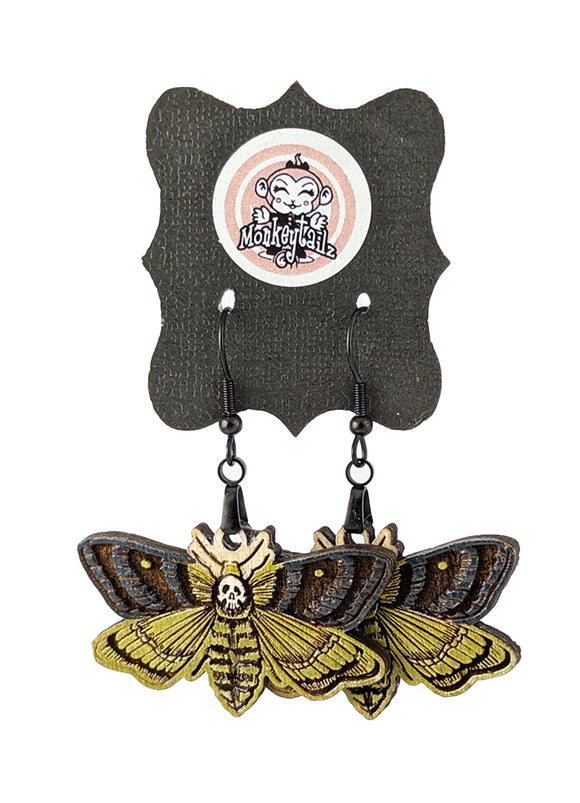
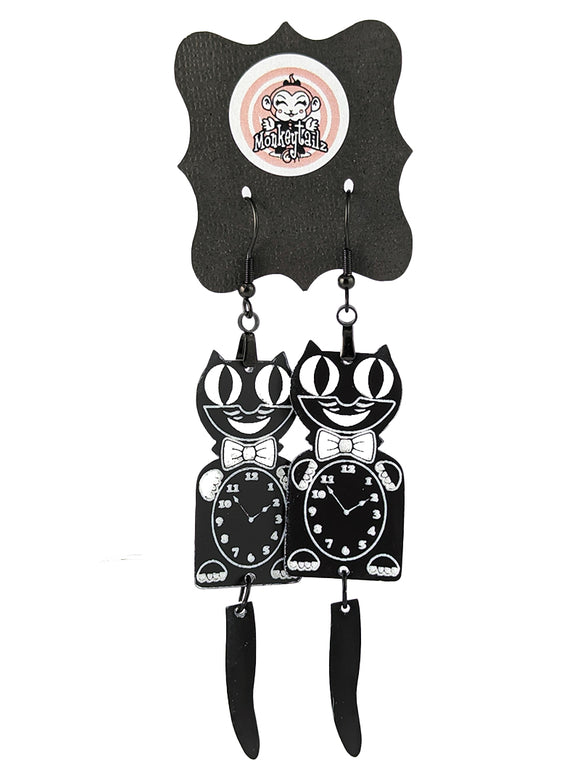
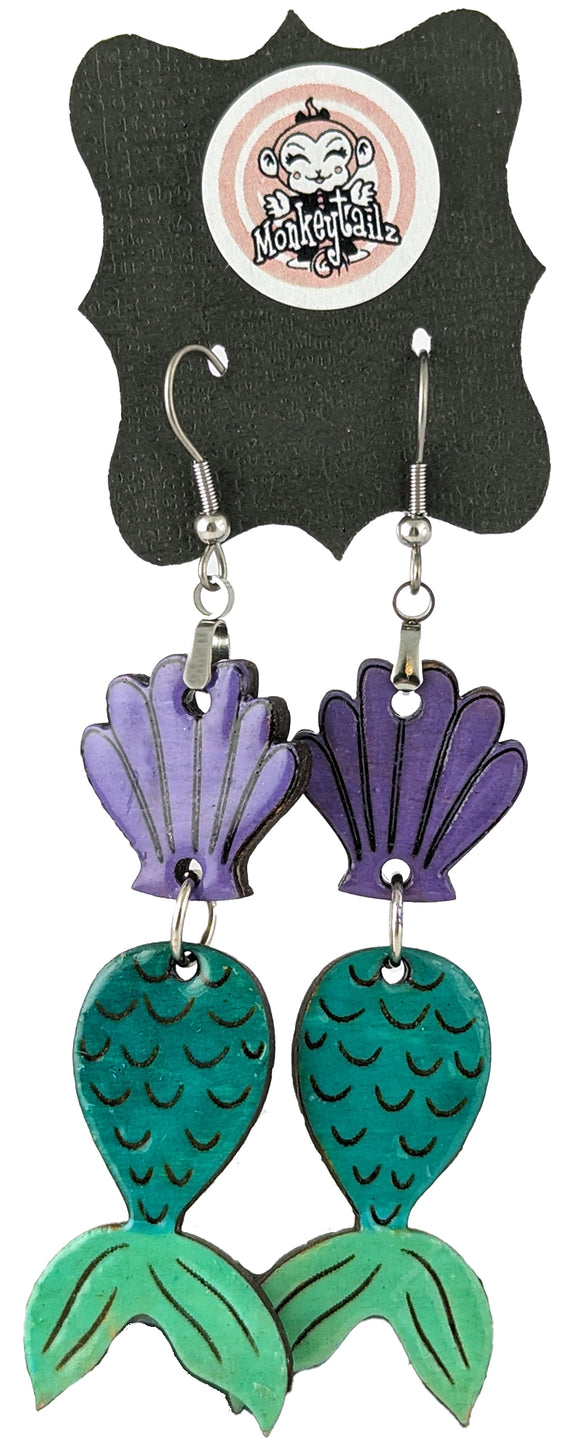
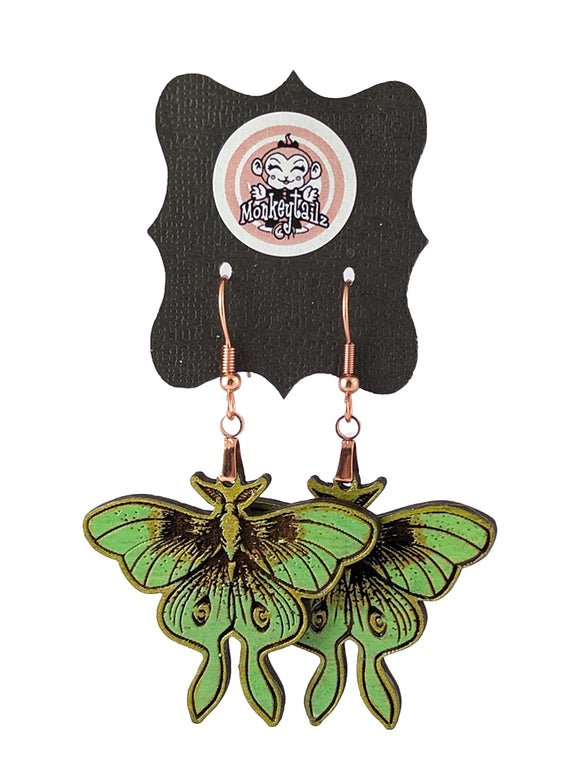
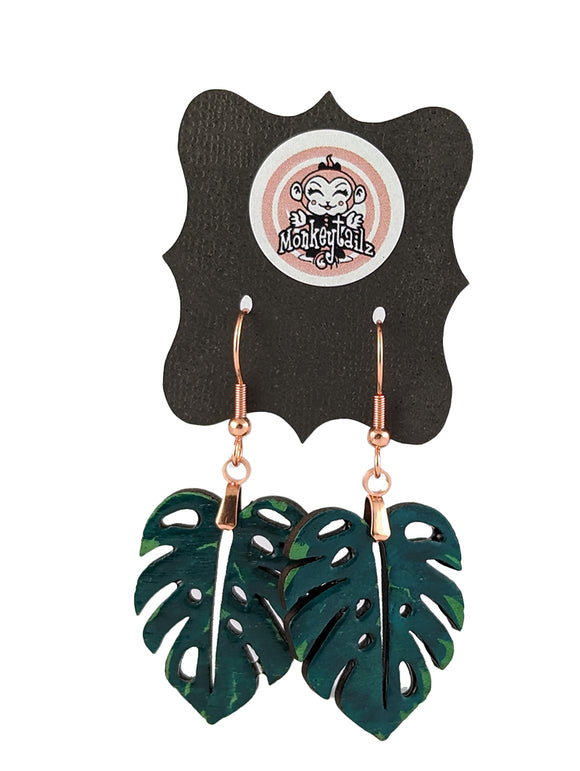
Dangle Earrings


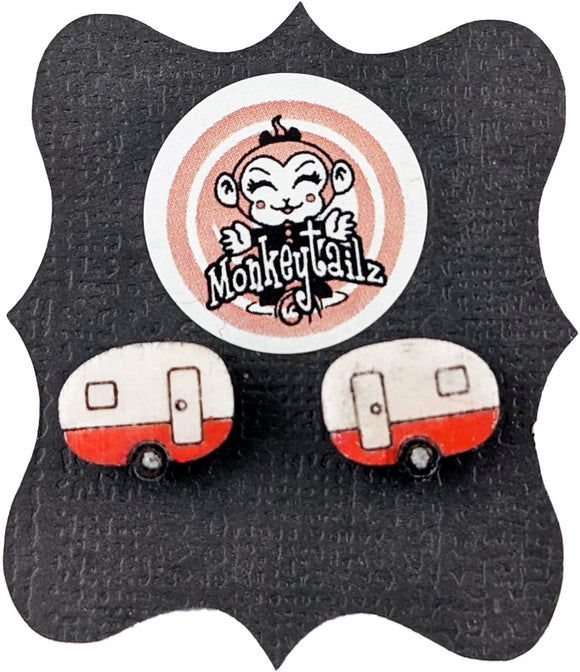
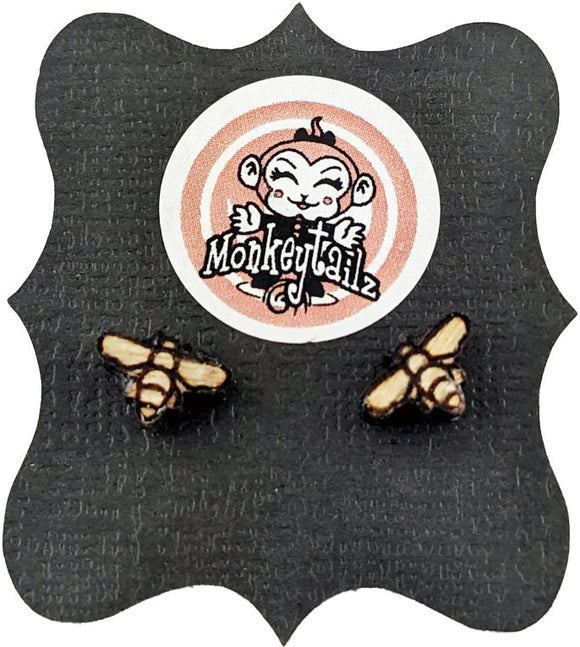
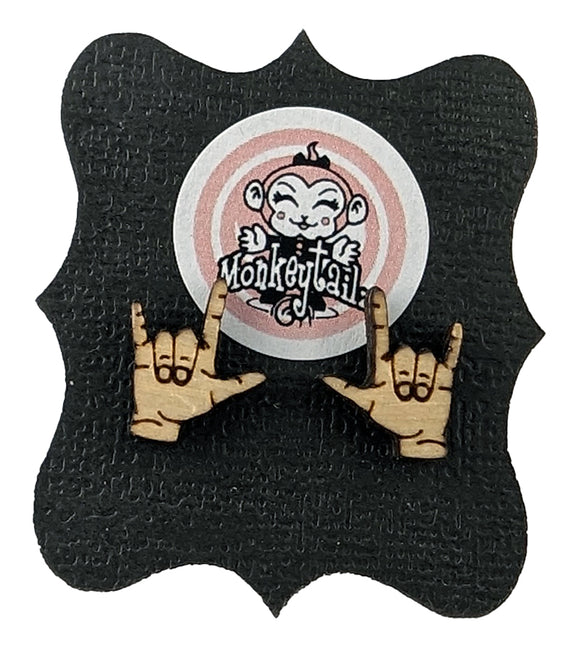
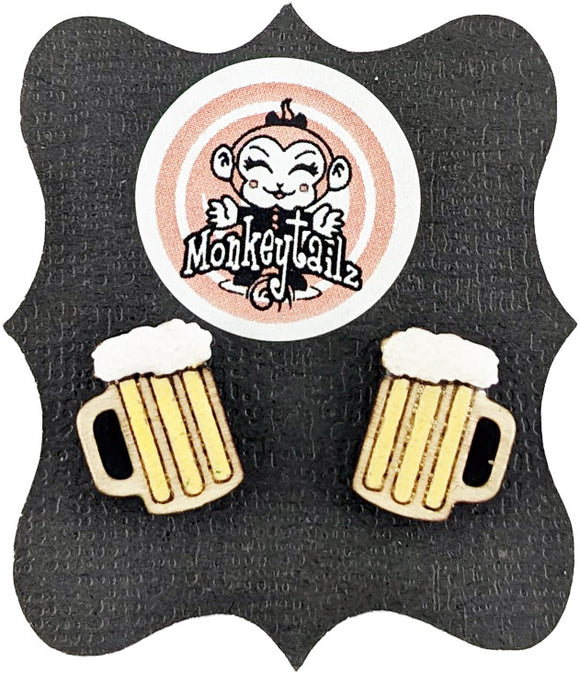
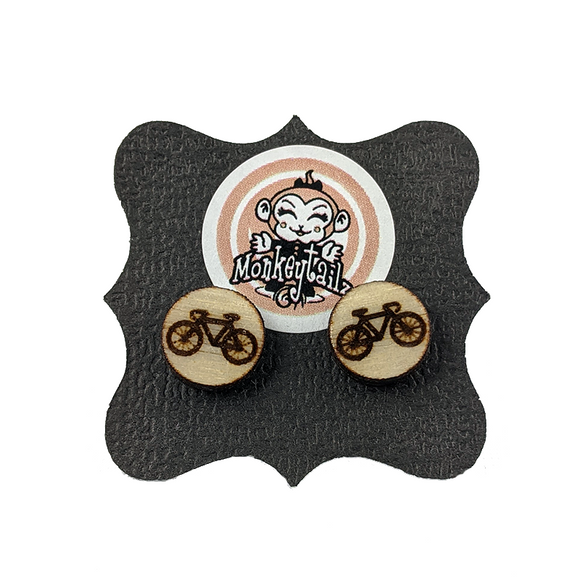
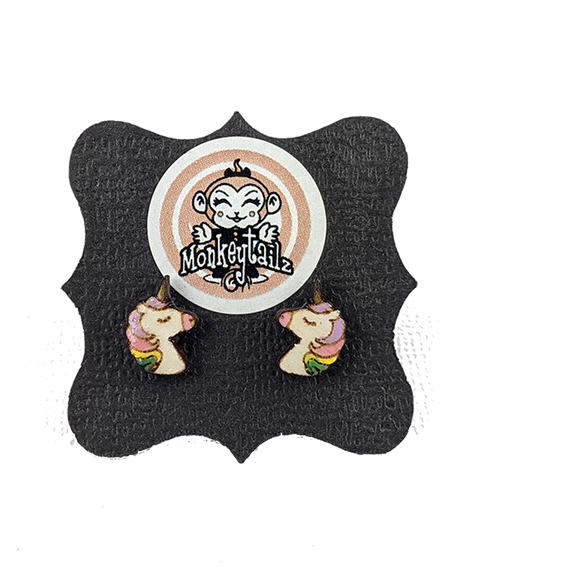
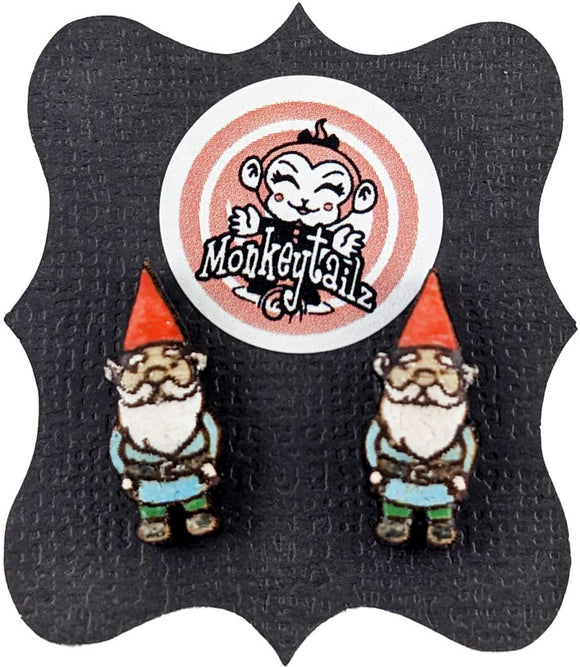
TINY STUD EARRINGS


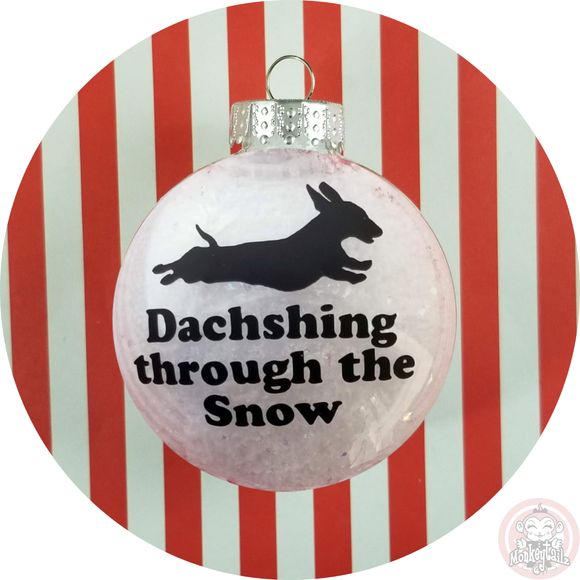
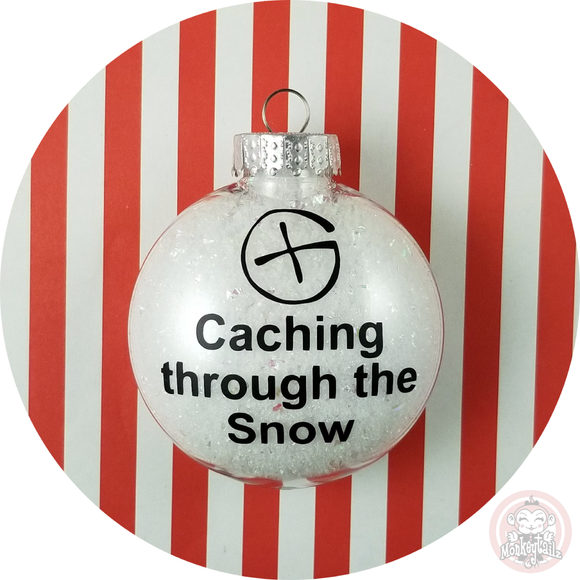
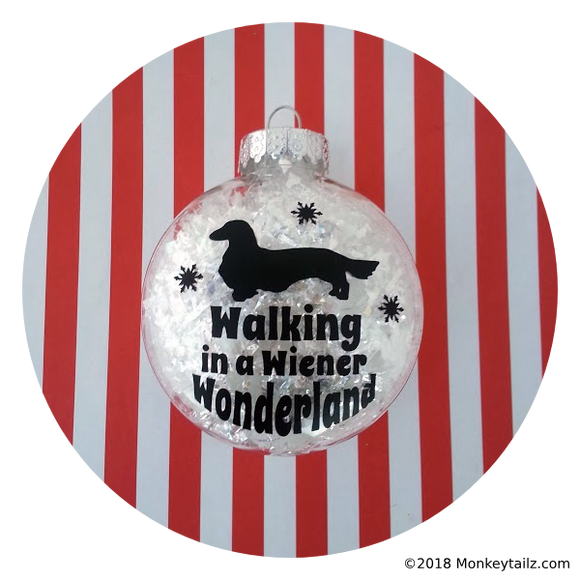
Ornaments


INSTAGRAM